Online meetings became widespread during the 2020 COVID pandemic. Call etiquette mandates that you keep your microphone muted while not talking, as almost everyone knows. This mute-unmute dynamic inspired me to search for a more comfortable solution that didn’t involve pressing multiple keys on the keyboard or reaching for the mouse every time. Luckily I stumbled upon this Instructable by FabroLabs Technologies . I decided to give it a try and build a hotkey keyboard from scratch: the casing, circuit, firmware, and keycaps.
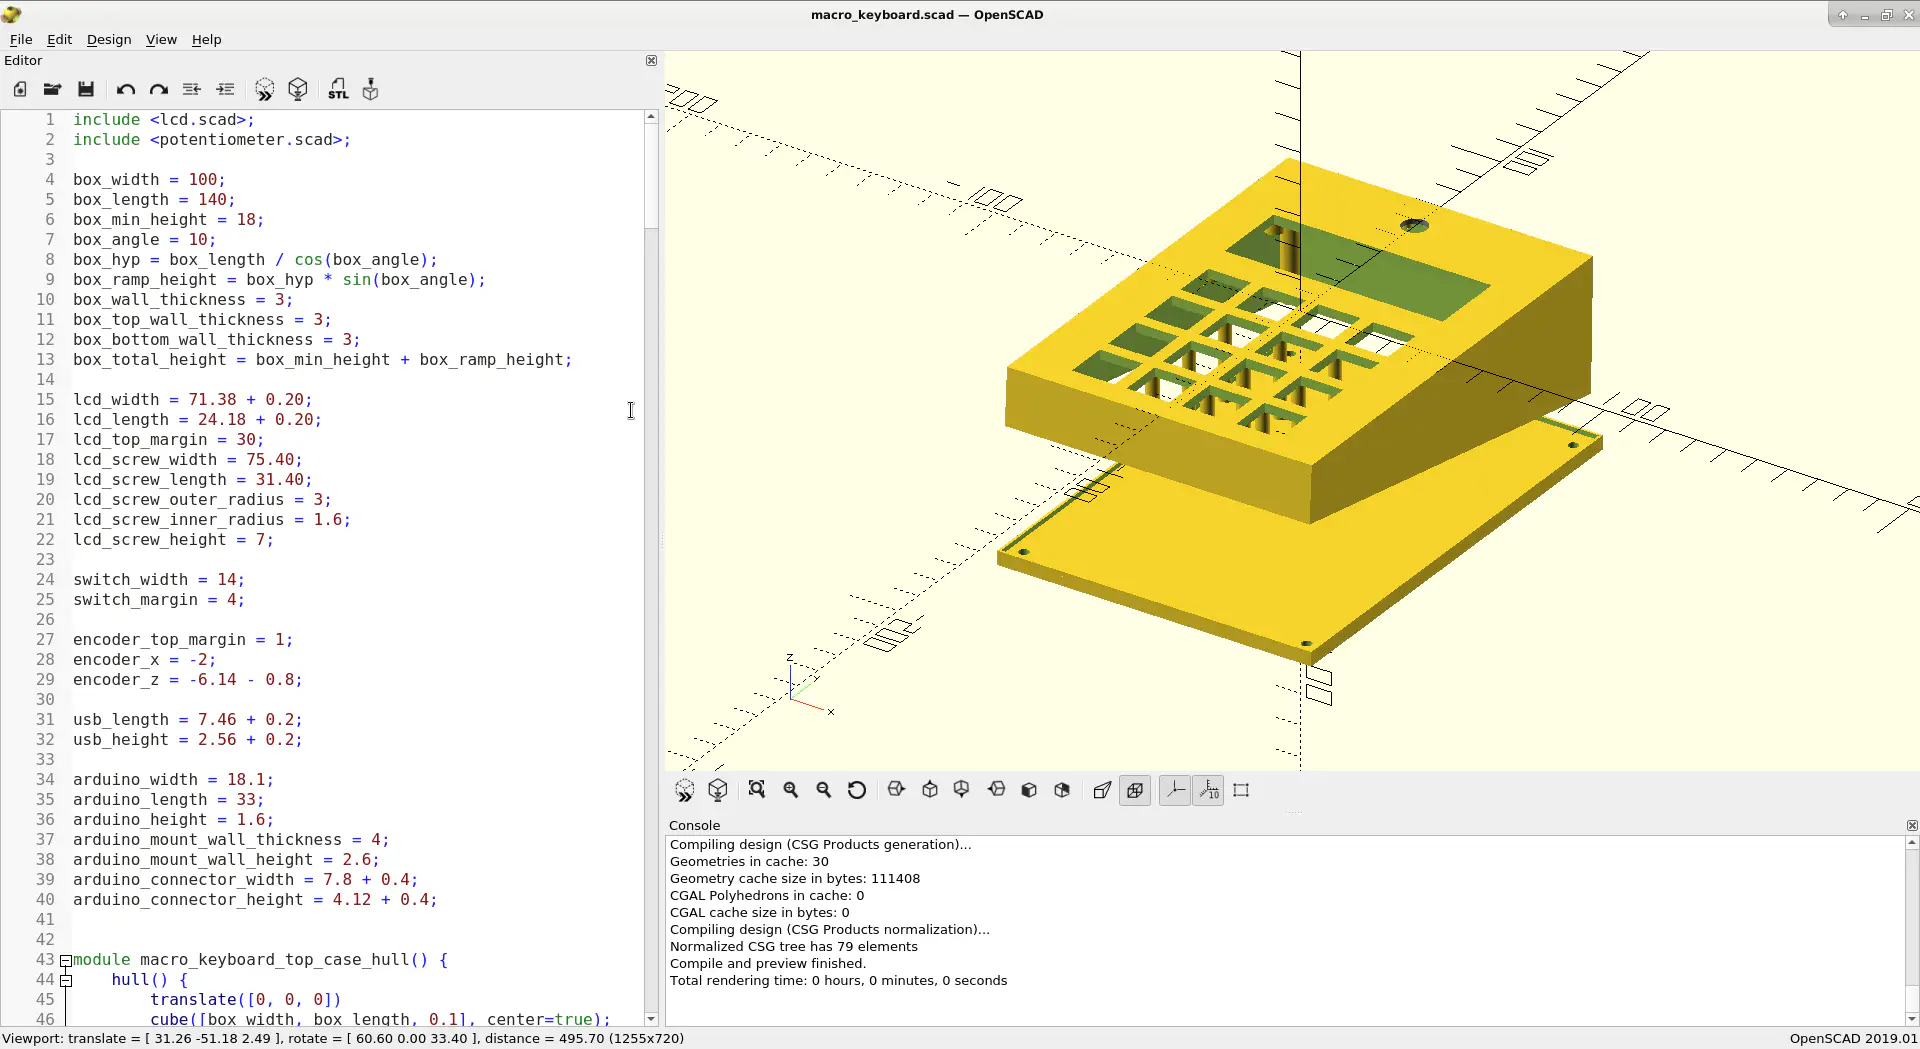
Although I have some previous experience with modeling and sculpting in Blender 3d, I am not acquainted with CAD software. Because of this limitation, I decided to start by designing the casing, and after experimenting with FreeCAD, Fusion 360, and OpenSCAD, I decided to stick with the latter. In OpenSCAD’s workflow, you don’t interactively model a 3D mesh. Instead, you write scripts that describe 3D objects, ending with a parametric description of the mesh that can be easily adjusted.
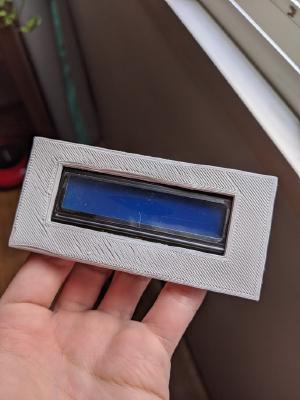
After I developed the casing, I iterated by printing the parts that would later fit a component to check for any sizing mistakes. The following pictures show some of those tests.
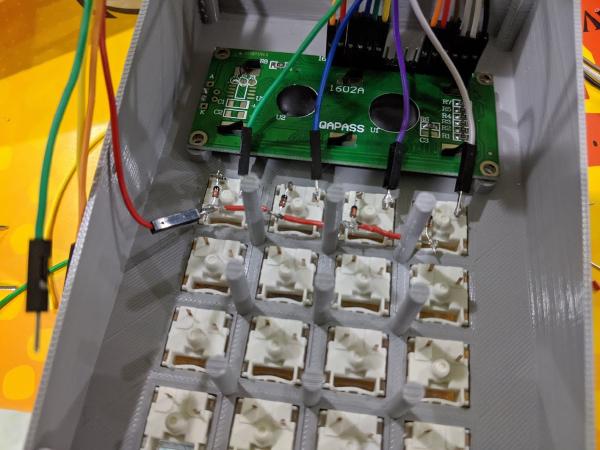
Assembling the circuit was pretty straightforward. I used an Arduino Pro Micro, a KY-040 rotary encoder, a 1602 LCD, Gateron blue switches, 1N4148 small-signal diodes, and some current limiting resistors. I assembled the switches in a matrix with the diodes used to prevent ghosting as described in this post .
During the final assembly, I found the spaces between switches to be small for conventional keycaps. Since I was using rsheldiii’s excellent KeyV2 lib for generating them, I only had to reduce the width to 14mm. This is the printed knob from Thingiverse and the final product looks like this.
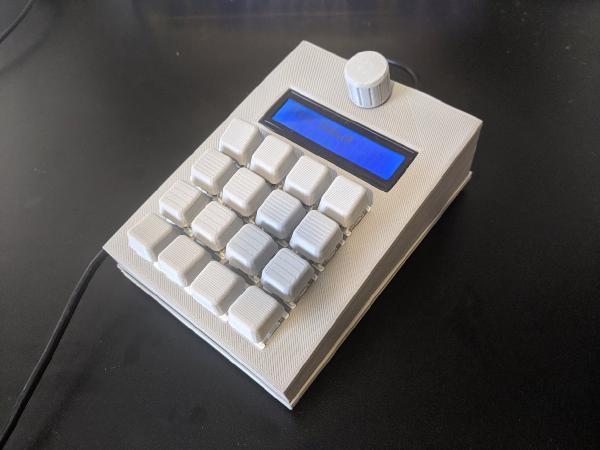
![Close-up of the LCD with the text [00] Debug](/blog/2020/07/padoca-hotkey-keyboard/img/final02_hu_e6f025672bde5170.jpg)
If you want to build your own hotkey keyboard, I’ve open-sourced all the resources needed in this repository .